
Mac Malware Reversing Lab
Introduction
I had to write this post because the next entry in this series will be the first one about malware reversing — and nobody wants to run malicious code on their daily machine.
In the long run, this raises other challenges (for instance, malware that detects it’s running in a virtualised environment). But there’s only one way to eat an elephant: one byte at a time.
Preparatory work
Best practices first: run a full backup of your Mac.
No spare disks? Back up to the cloud. Push everything you have to Git. Pray to the dark gods. Steal a hard drive from a deejay if you must. Whatever works — just remember: building a virtual machine is essential, but backing up the world that lives on your host is even more so.
Machine considerations and preparation
The hypervisor
When building a virtual machine, the choice of hypervisor plays a pivotal role. It dictates the limitations of the virtual hardware and, ultimately, how the machine will behave as a whole.
The landscape of macOS-compatible hypervisors is generous, and choosing one usually comes down to personal preference. In my case, I simply don’t like VirtualBox. Not for any technical reason — it may well be a good product — but I disliked it the first time I saw it, and I never changed my mind.
I also prefer software that won’t burn a hole in the pocket of anyone following this tutorial; it’s a matter of respect. So, as much as I like Parallels (and VMWare too, to be fair), my choice narrows down to VirtualBuddy and UTM.
There’s a fine post on the venerable Eclectic Light Company website exploring this topic. It’s a bit dated, so I wouldn’t strictly follow its conclusions — but it’s still an interesting analysis.
VirtualBuddy
Website: https://github.com/insidegui/VirtualBuddy
Pros: Highly customisable. Excellent boot experience (yes, you can tweak SIP and other settings). Broad OS support.
Cons: A bit hackish. Requires curiosity and a willingness to understand how it works.
Personal note: I normally use VirtualBuddy for reversing.
UTM
Website: https://mac.getutm.app
Pros: Stable. Good snapshot management.
Cons: Occasionally conflicts with other software — but what doesn’t?
Personal note: Like most pentesters, I use VMs to host my attack boxes, and I usually build them on UTM.
After considering the options, my pick is UTM. Of course, you can use whichever you prefer — but I won’t be providing support for alternatives.
It may sound arrogant, but honestly: if you need help at this stage, things will only get worse later. Better sharpen your teeth now.
Virtualisation settings
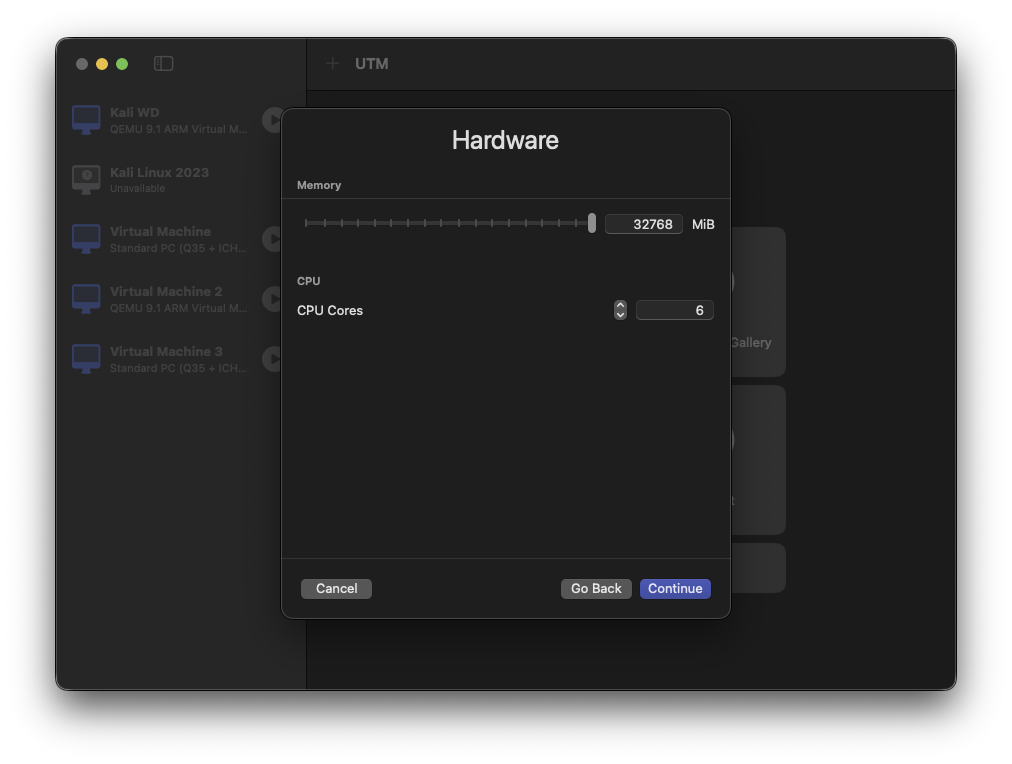
Let’s agree on one thing: virtualisation eats resources.
Although modern systems are less gluttonous, it’s still a demanding process by nature. My setup is overkill — 32 GB of RAM (why? Because I have it, so I use it!) and six cores.
But the bare minimum should be 8 GB RAM and four cores (six recommended).
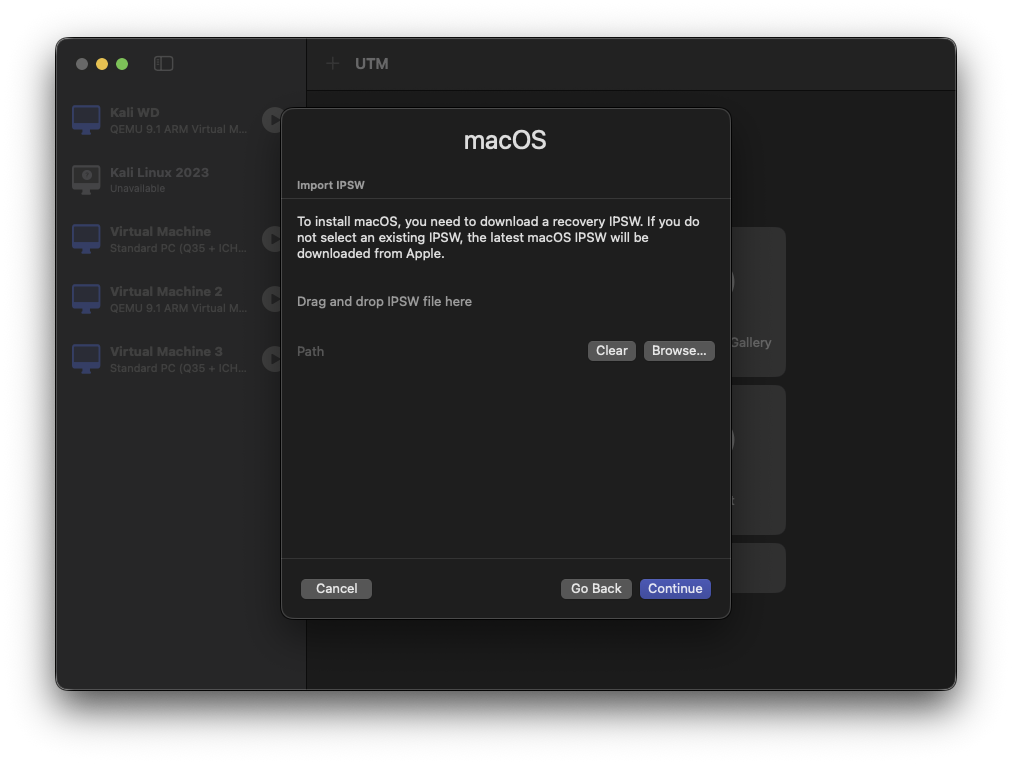
For consistency, I downloaded macOS 26.0.1 from https://ipsw.me — you might want to do the same.
Note: From time to time, I may use a different macOS version. Sometimes the most interesting details hide in minor releases. In general, the installation procedure remains the same.
As for disk space, 64 GB will be more than enough — after all, we’re only working with small specimens.
 Finally, the summary of the setup:
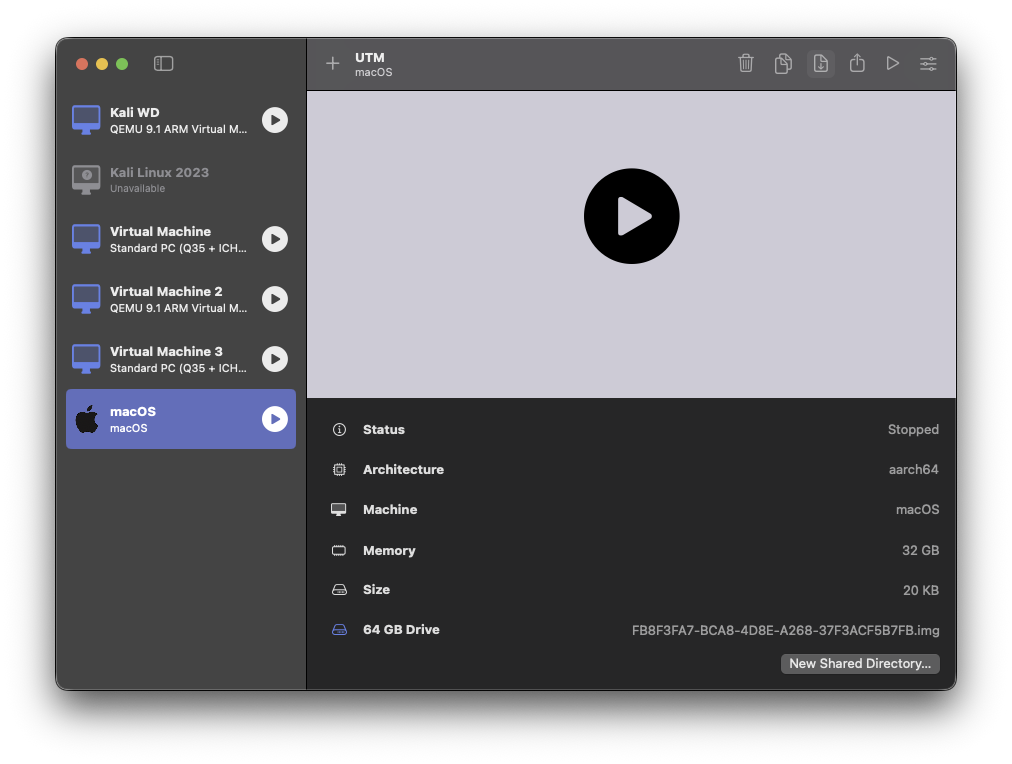
Note: The disk size shows 20 KB here — that’s just the empty virtual disk. Once macOS is installed, it will occupy roughly 15–20 GB of the allocated 64 GB.
Don’t shoot yourself in the foot: avoid sharing any directories between host and guest. You really don’t want your main system browsing through an infected environment.
Installing macOS
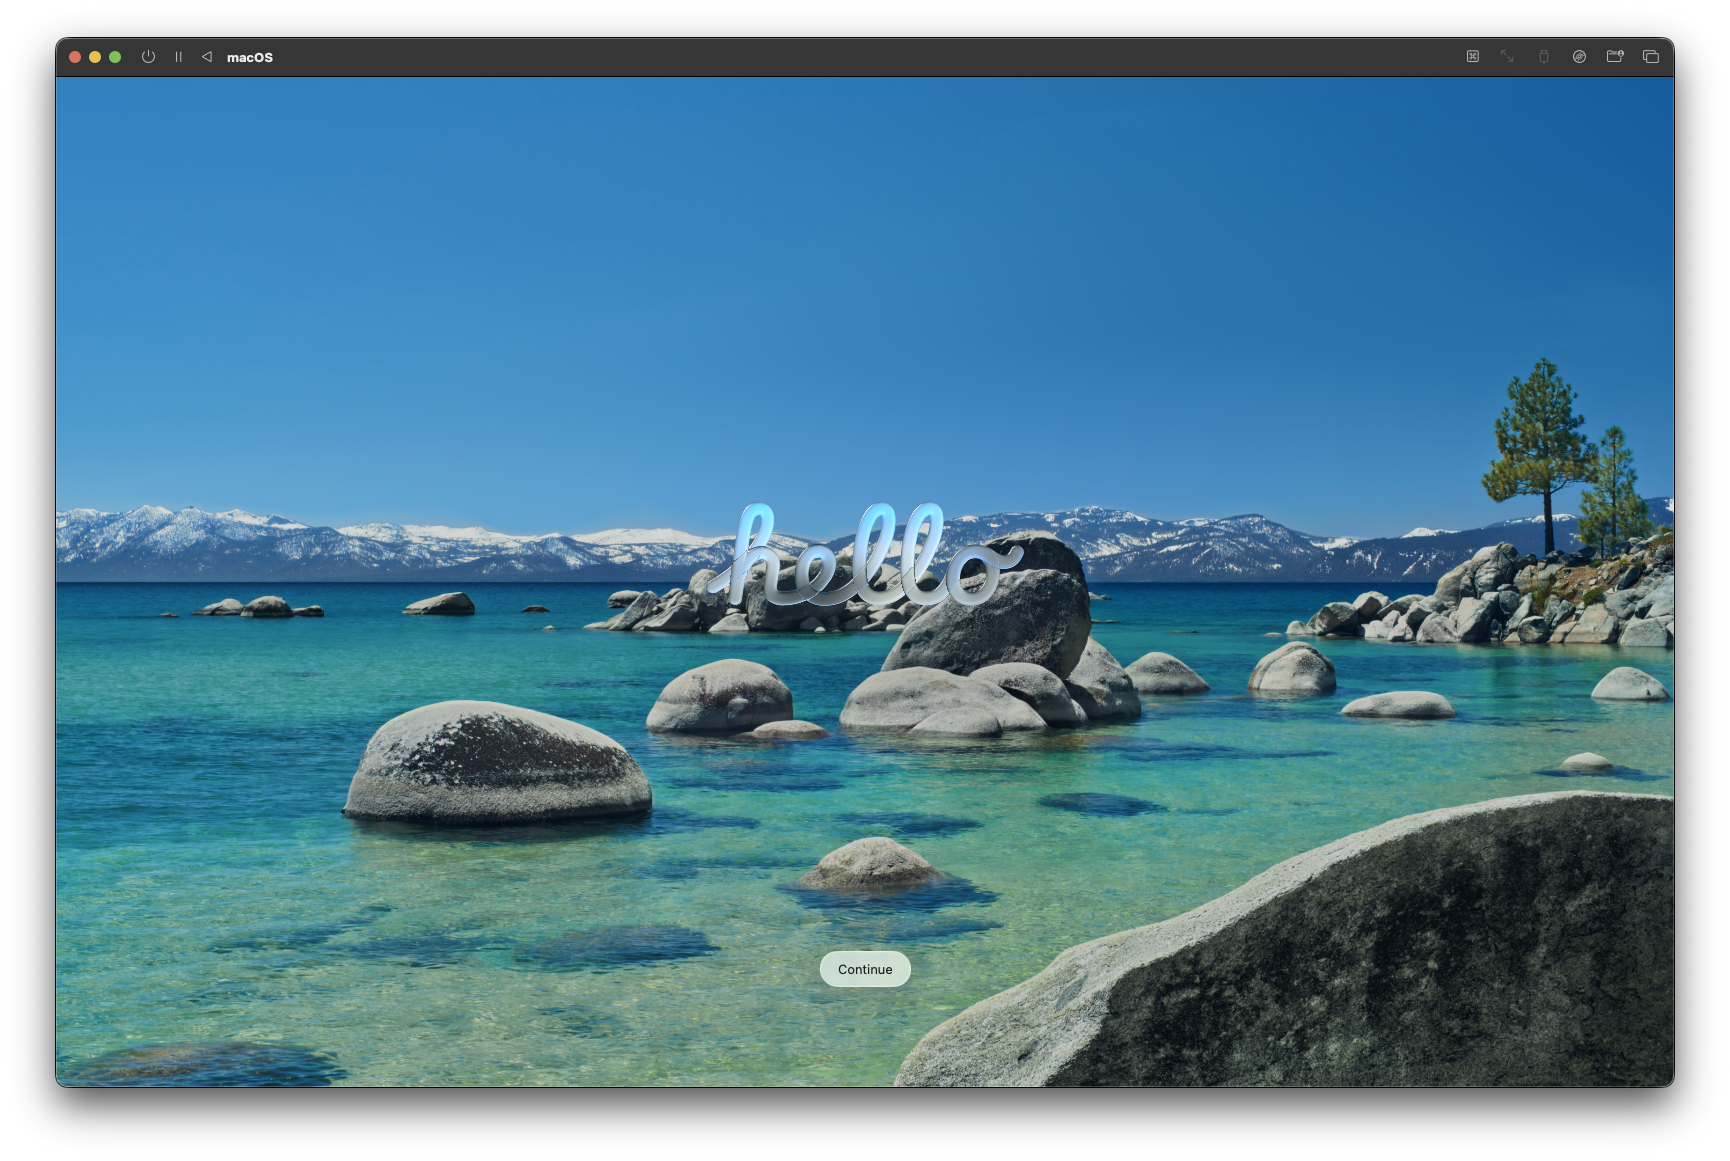
Once you hit the Play button, the installation will simply take time.
If you’ve done everything correctly — and your cat hasn’t started dancing on the keyboard (mine did, and I had to reinstall everything from scratch — meet my feline assistant, Sabbath) — you’ll soon be greeted by the familiar macOS welcome screen.
 From this point onwards, the installation process is fairly standard, so I’ll just add a few notes:
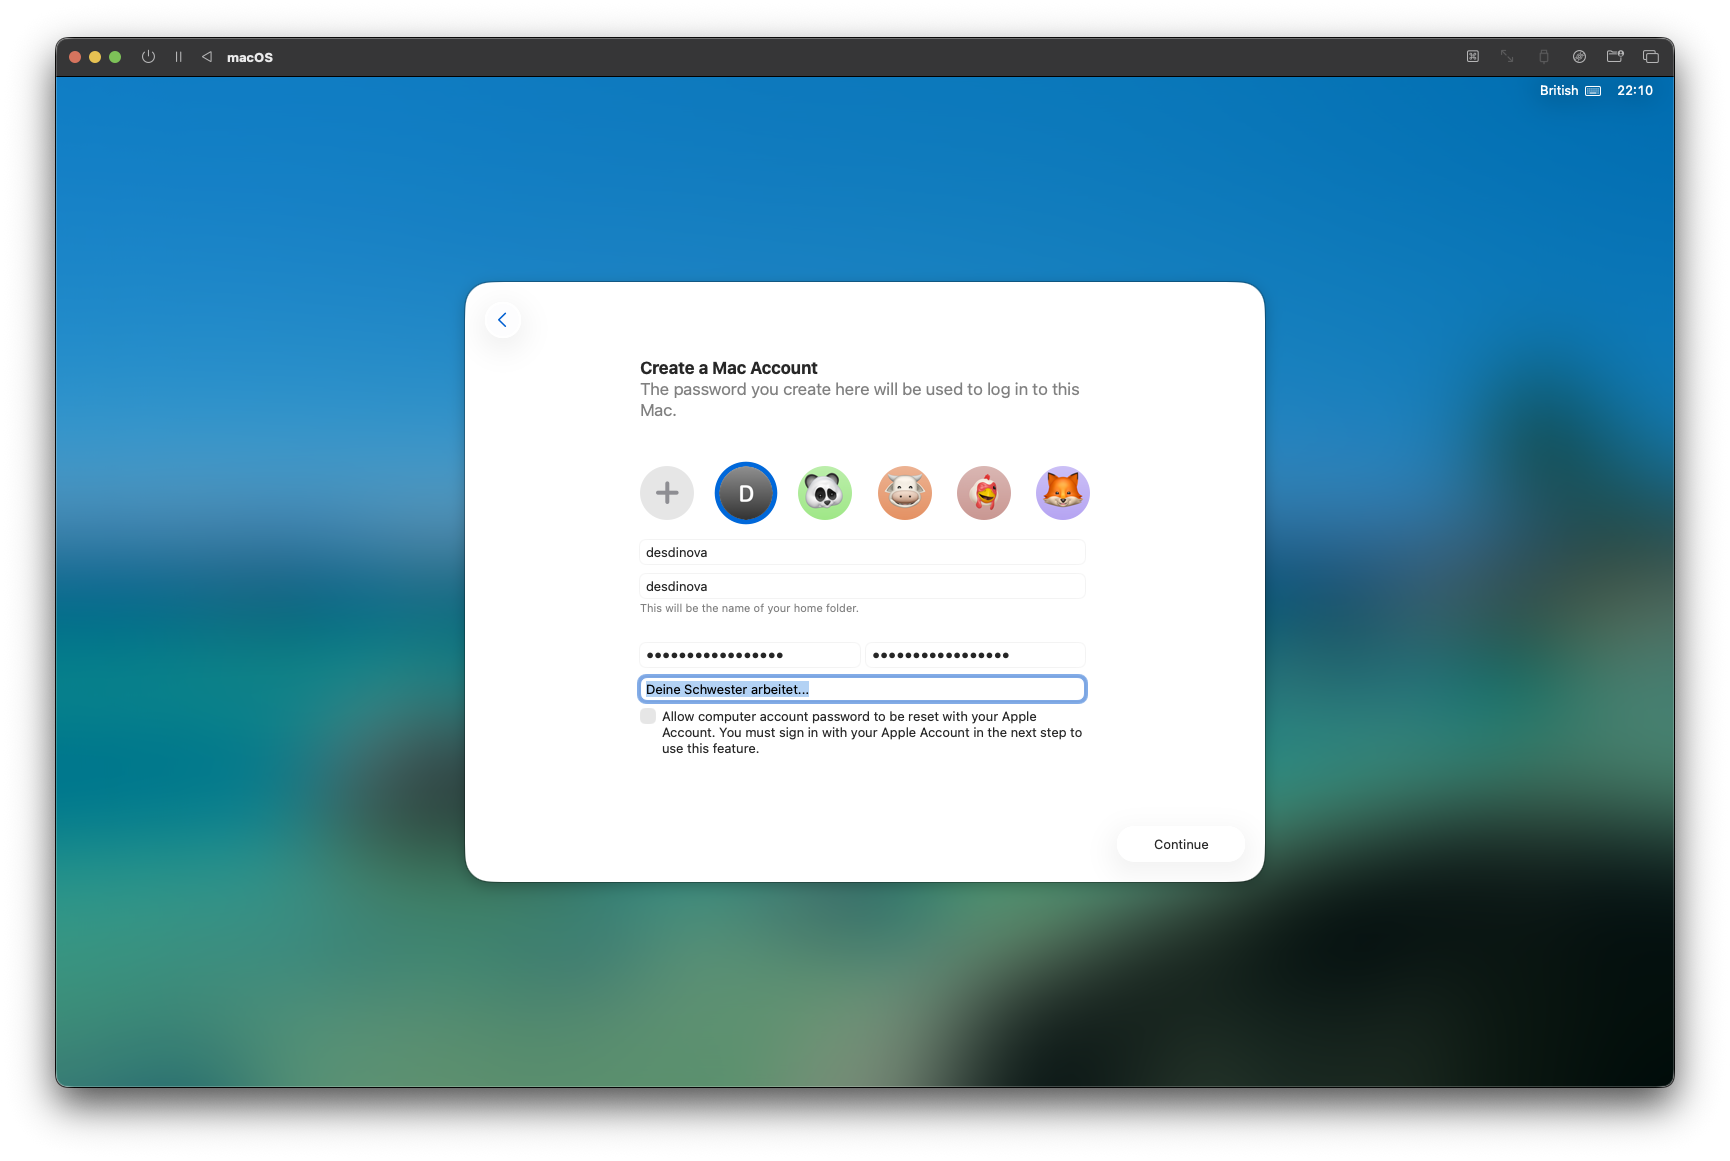
- When asked whether to set up your Mac as new or restore it from another machine, save yourself the hassle and choose Set up as new.
- When creating your account and throughout the setup, avoid linking your iCloud account to this virtual machine. You won’t need it — and it certainly won’t do you any favours.
- Location Services: pointless here — skip them.
- Analytics: don’t share anything with Apple, especially not in this environment.
- Siri: leave her alone. You don’t want such a seductive voice catching a virus.
- FileVault: normally a great idea, but this time keep it off.
- Automatic Updates: unnecessary. Tick “Download updates automatically” and handle the rest manually.
System up and running — we’re ready to move on.
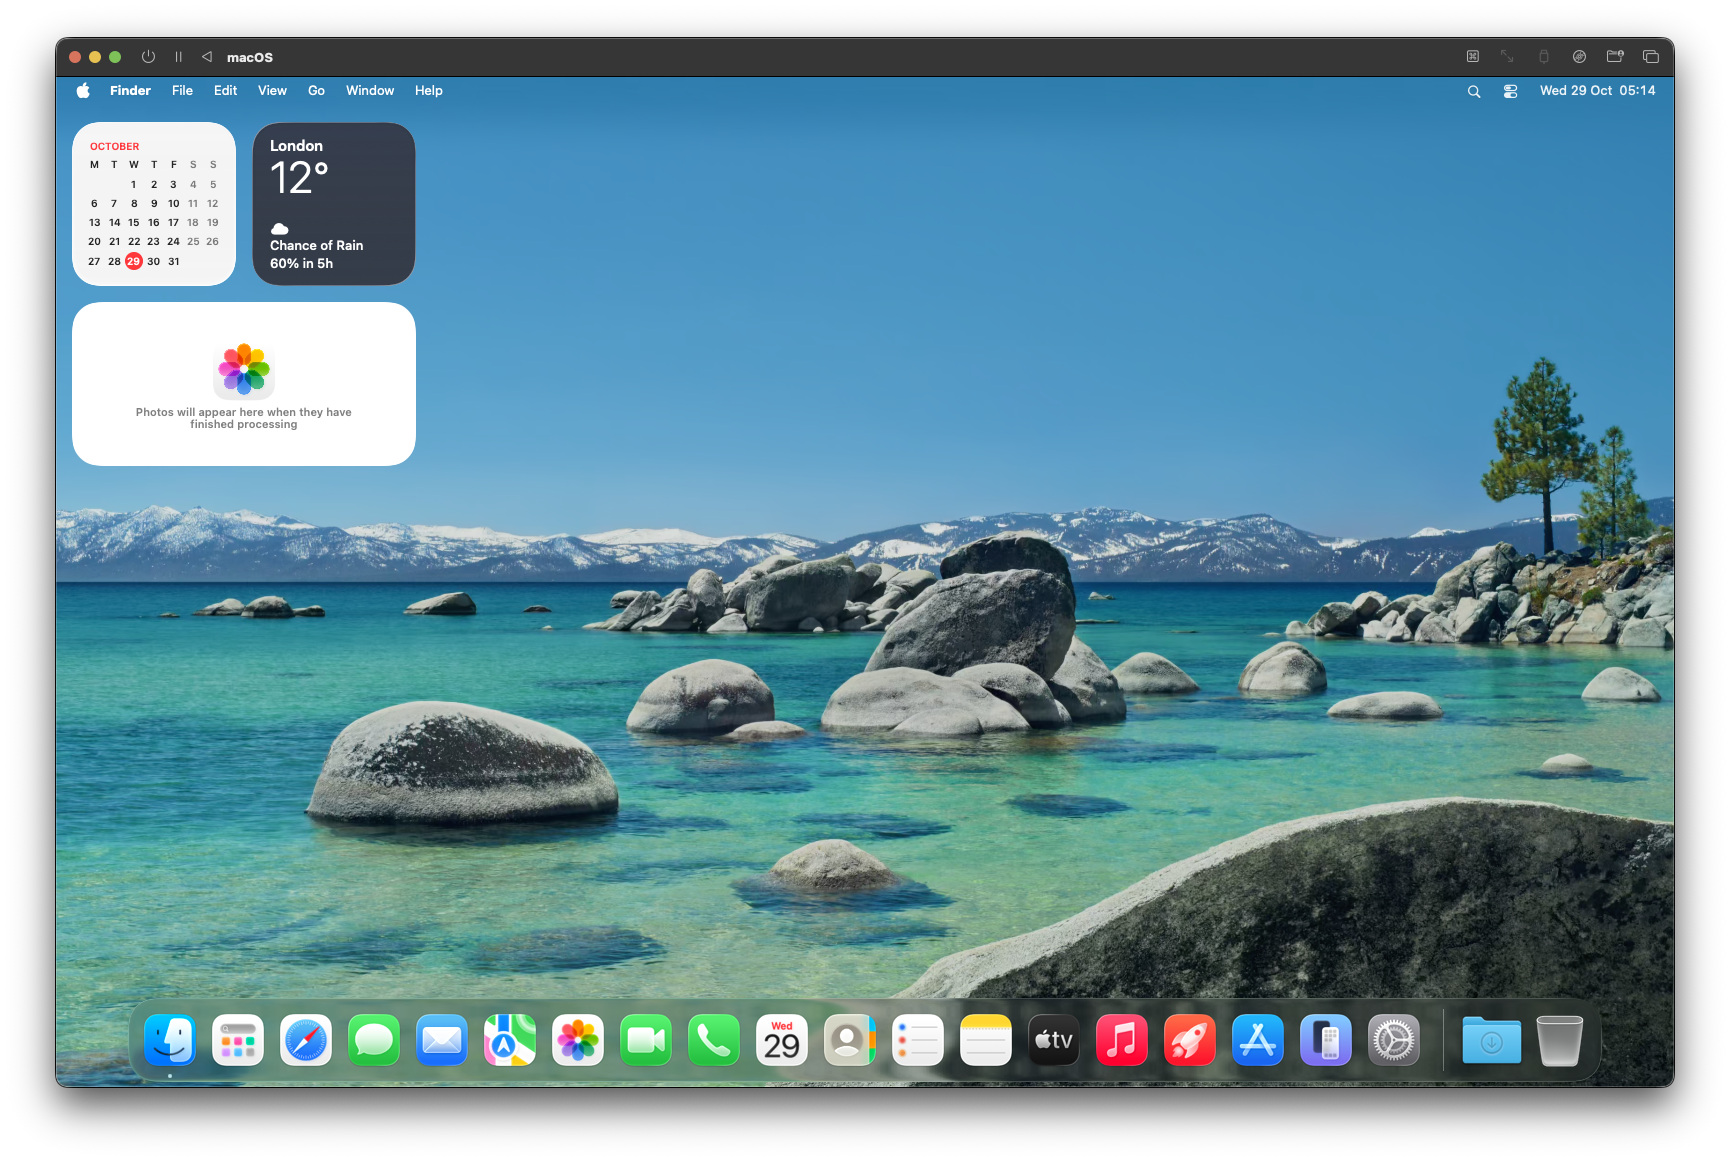 A few more tweaks, and we’re ready to roll.
System configuration
- Install Homebrew — you’ll need it sooner than you think.
/bin/bash -c "$(curl -fsSL https://raw.githubusercontent.com/Homebrew/install/HEAD/install.sh)"
-
Install a second browser. I usually go for Firefox, or even better, Brave — solid choice, and the one I’ll be using throughout this series.
If you prefer Chrome or anything else, that’s perfectly fine. -
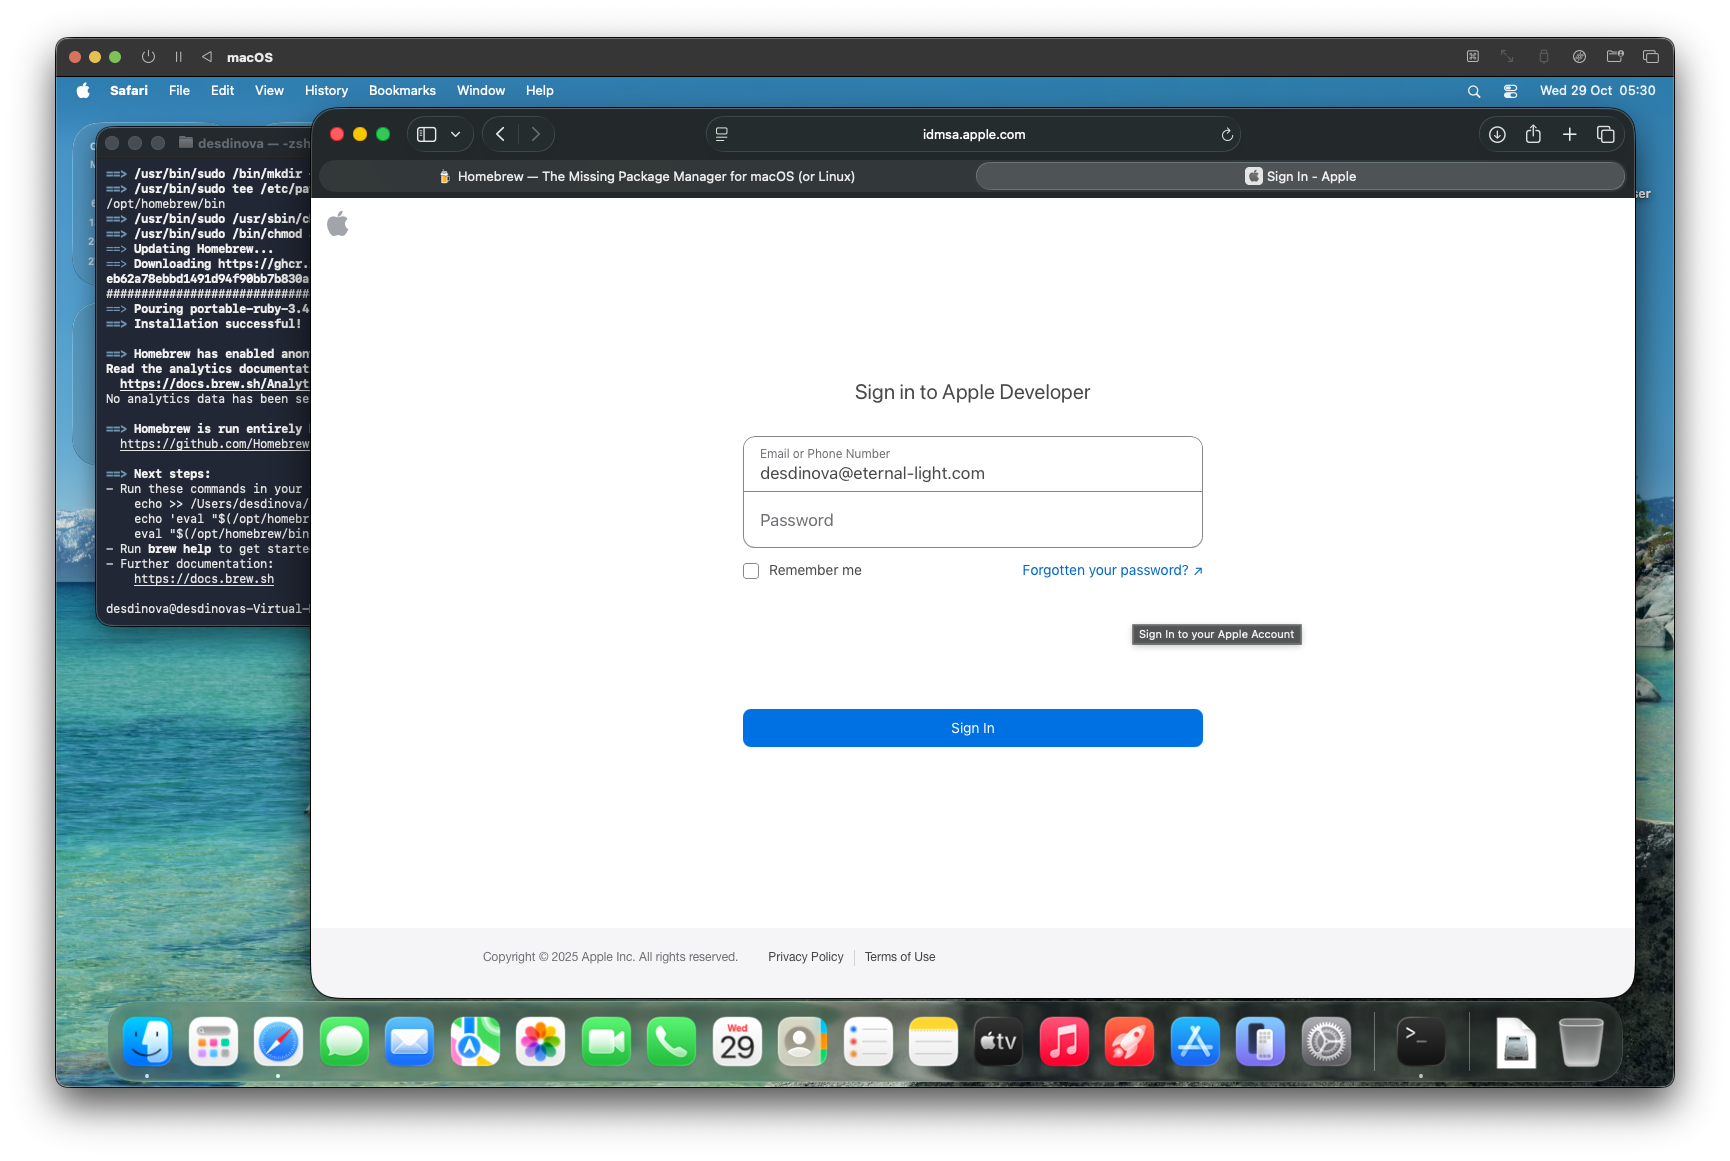
Download and install Xcode — but not from the App Store. It likely won’t work, as Apple doesn’t appreciate iCloud-linked VMs. Instead, head to xcodereleases.com. You’ll need an Apple Developer account anyway, but the free one will do just fine.
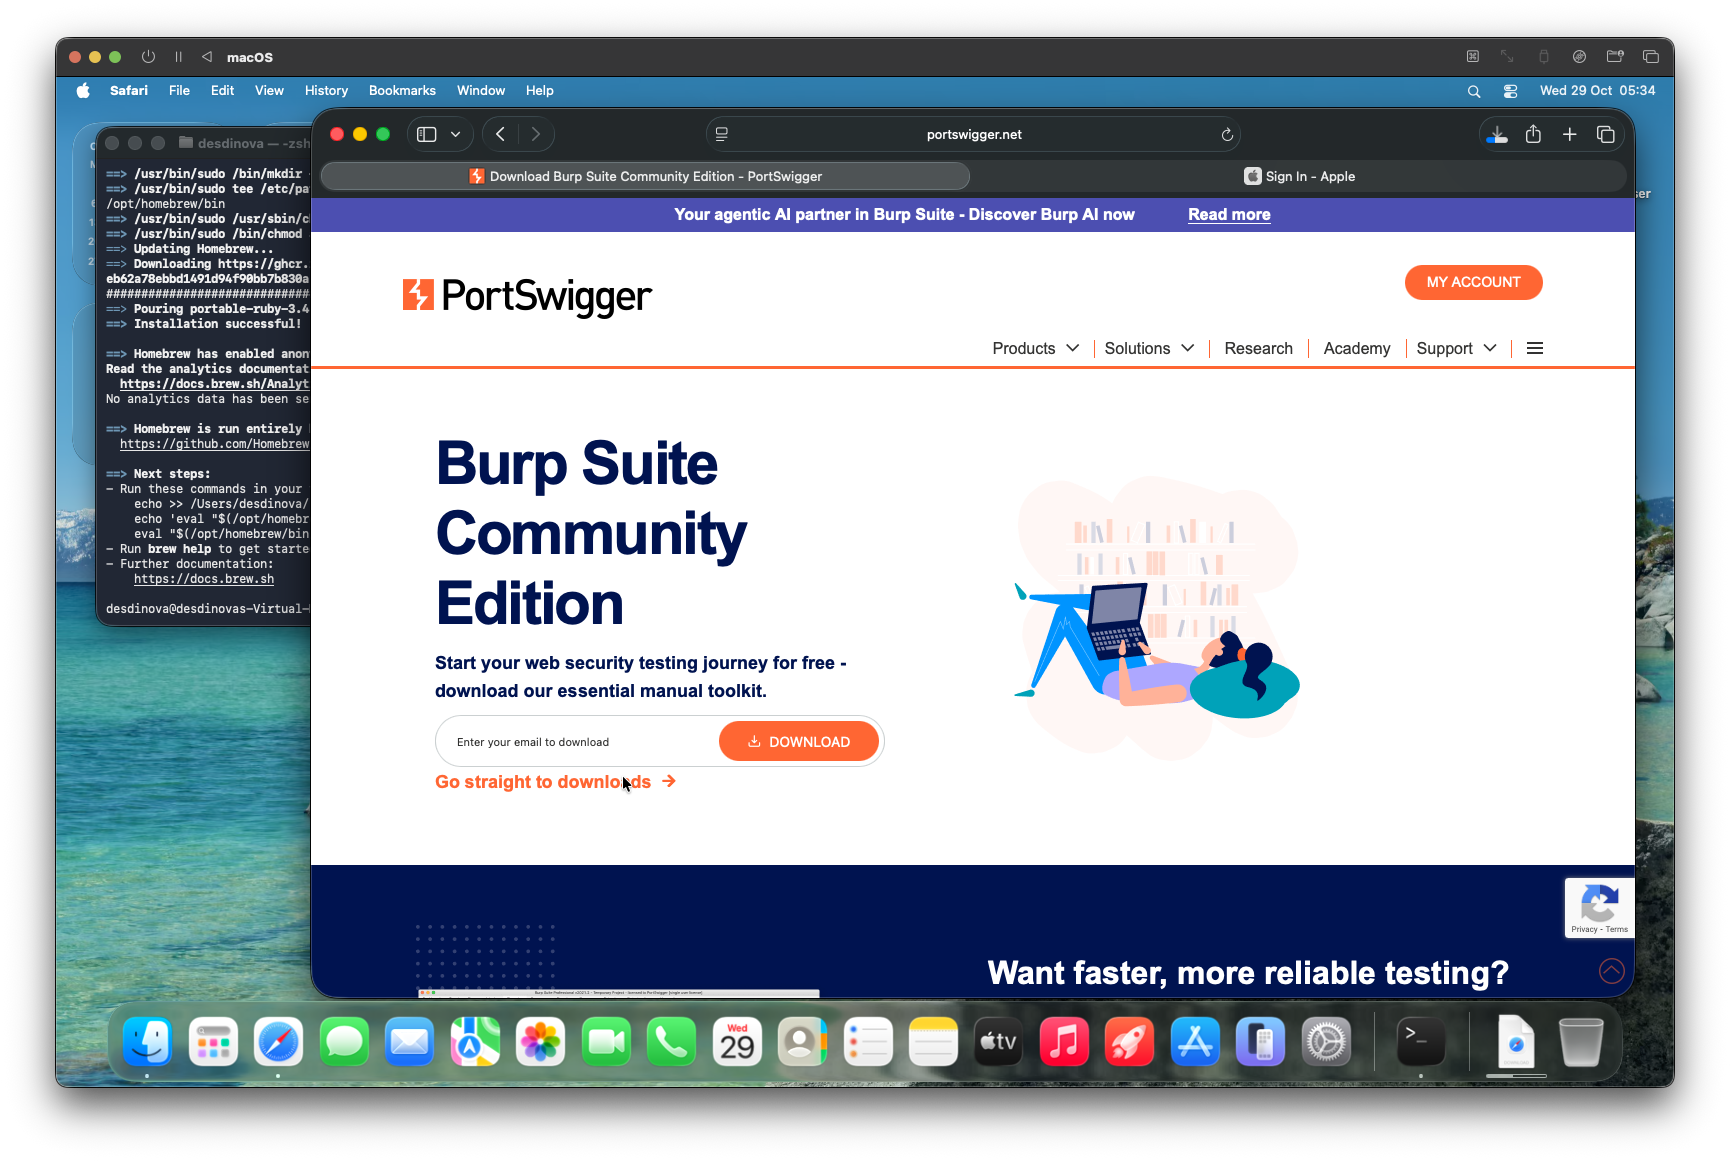
- Download and install BURP Suite CE from the portswigger website. It will come in handy with some malware samples.
-
While you have a terminal open, note your IP address (e.g.
ifconfig -a).
As an example, mine is192.168.64.27. - System settings (quick hardening / convenience)
- System Settings › Sharing › Remote Management: Turn On.
- System Settings › Sharing › Remote Login: Turn On.
- System Settings › Users & Groups › Add user:
- Make the new account an administrator.
- Keep this account for recovery only — use it only if you lock yourself out of the VM by doing something very stupid.
Important security note Enabling remote services is convenient for managing the VM, but it increases the attack surface. Prefer restricting access to your host-only / NAT network or limit by IP where possible.
- PortSwigger / Burp certificate
- Open Burp Suite and accept the license/terms (yes, accept them — everyone does).
- In Burp, go to Settings (or Preferences) → locate the Certificate / Proxy options to install or export the Burp CA certificate for your guest browser.
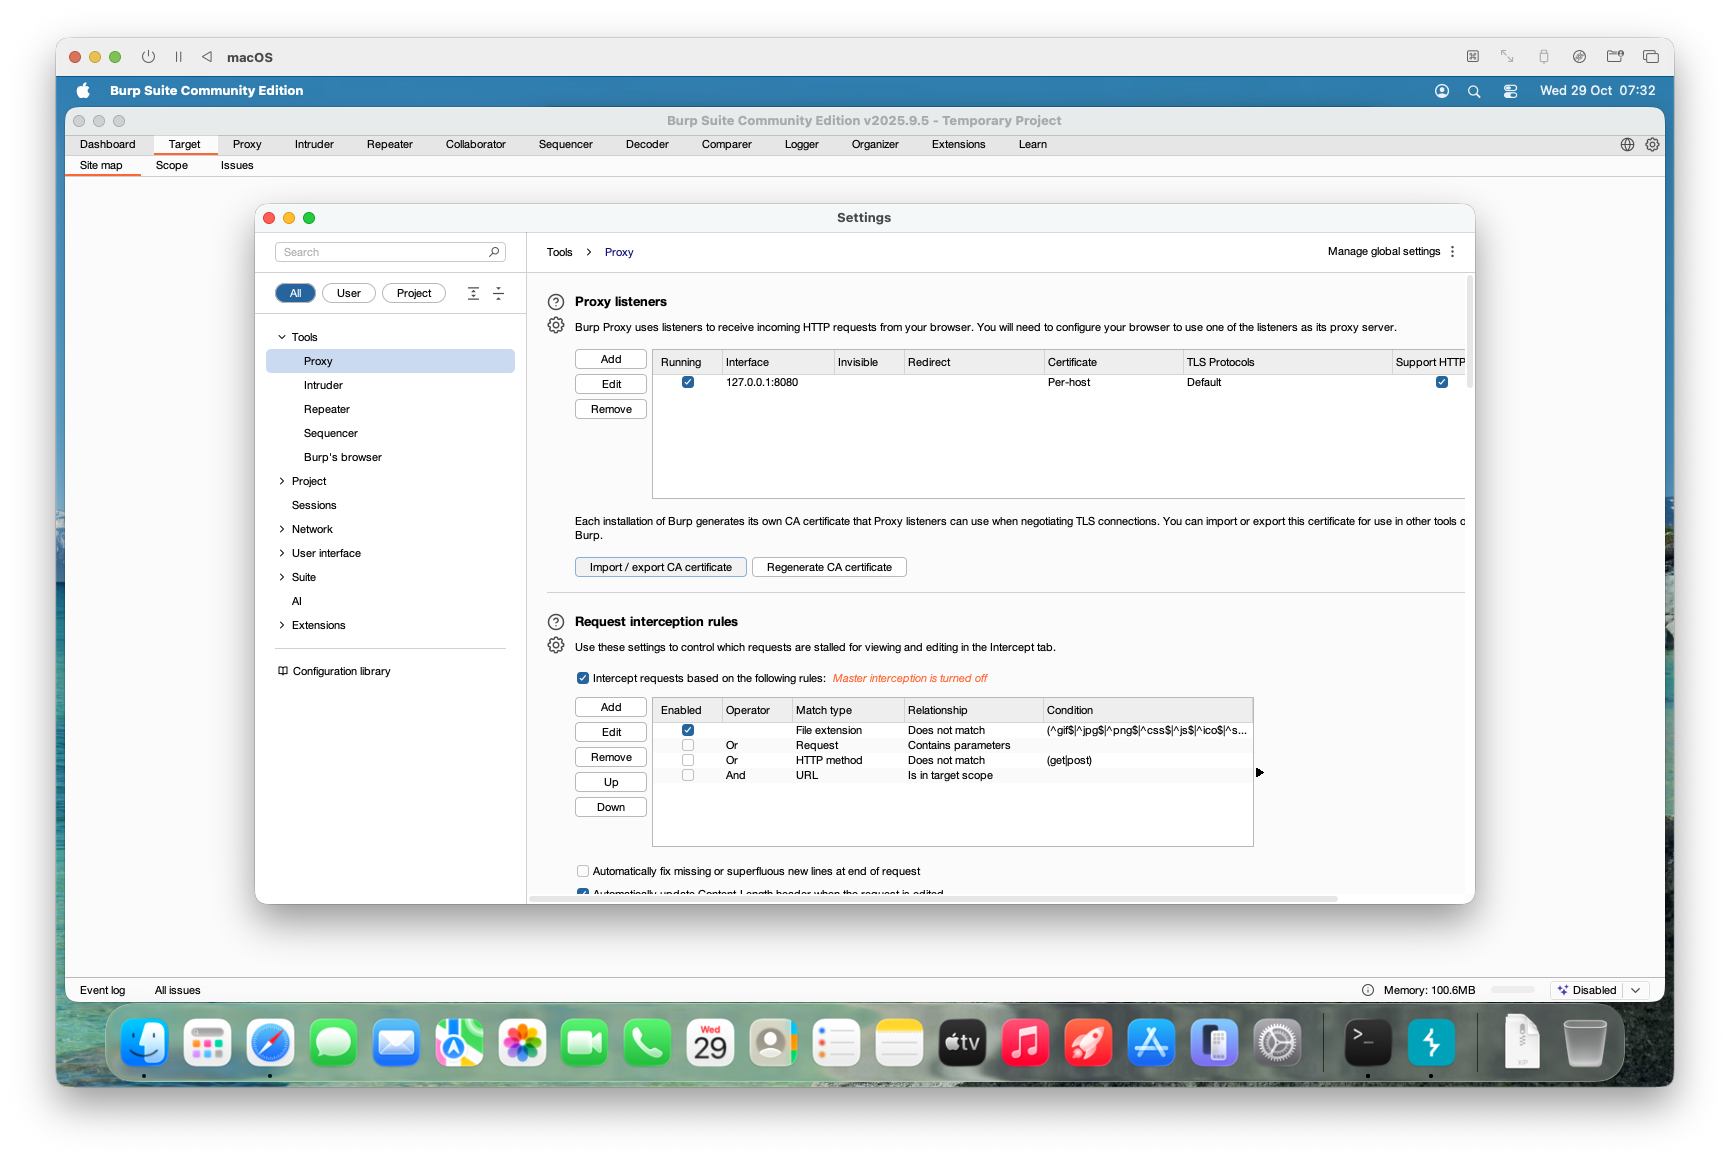
- Select “Import / Export CA Certificate.”
- Save it as a
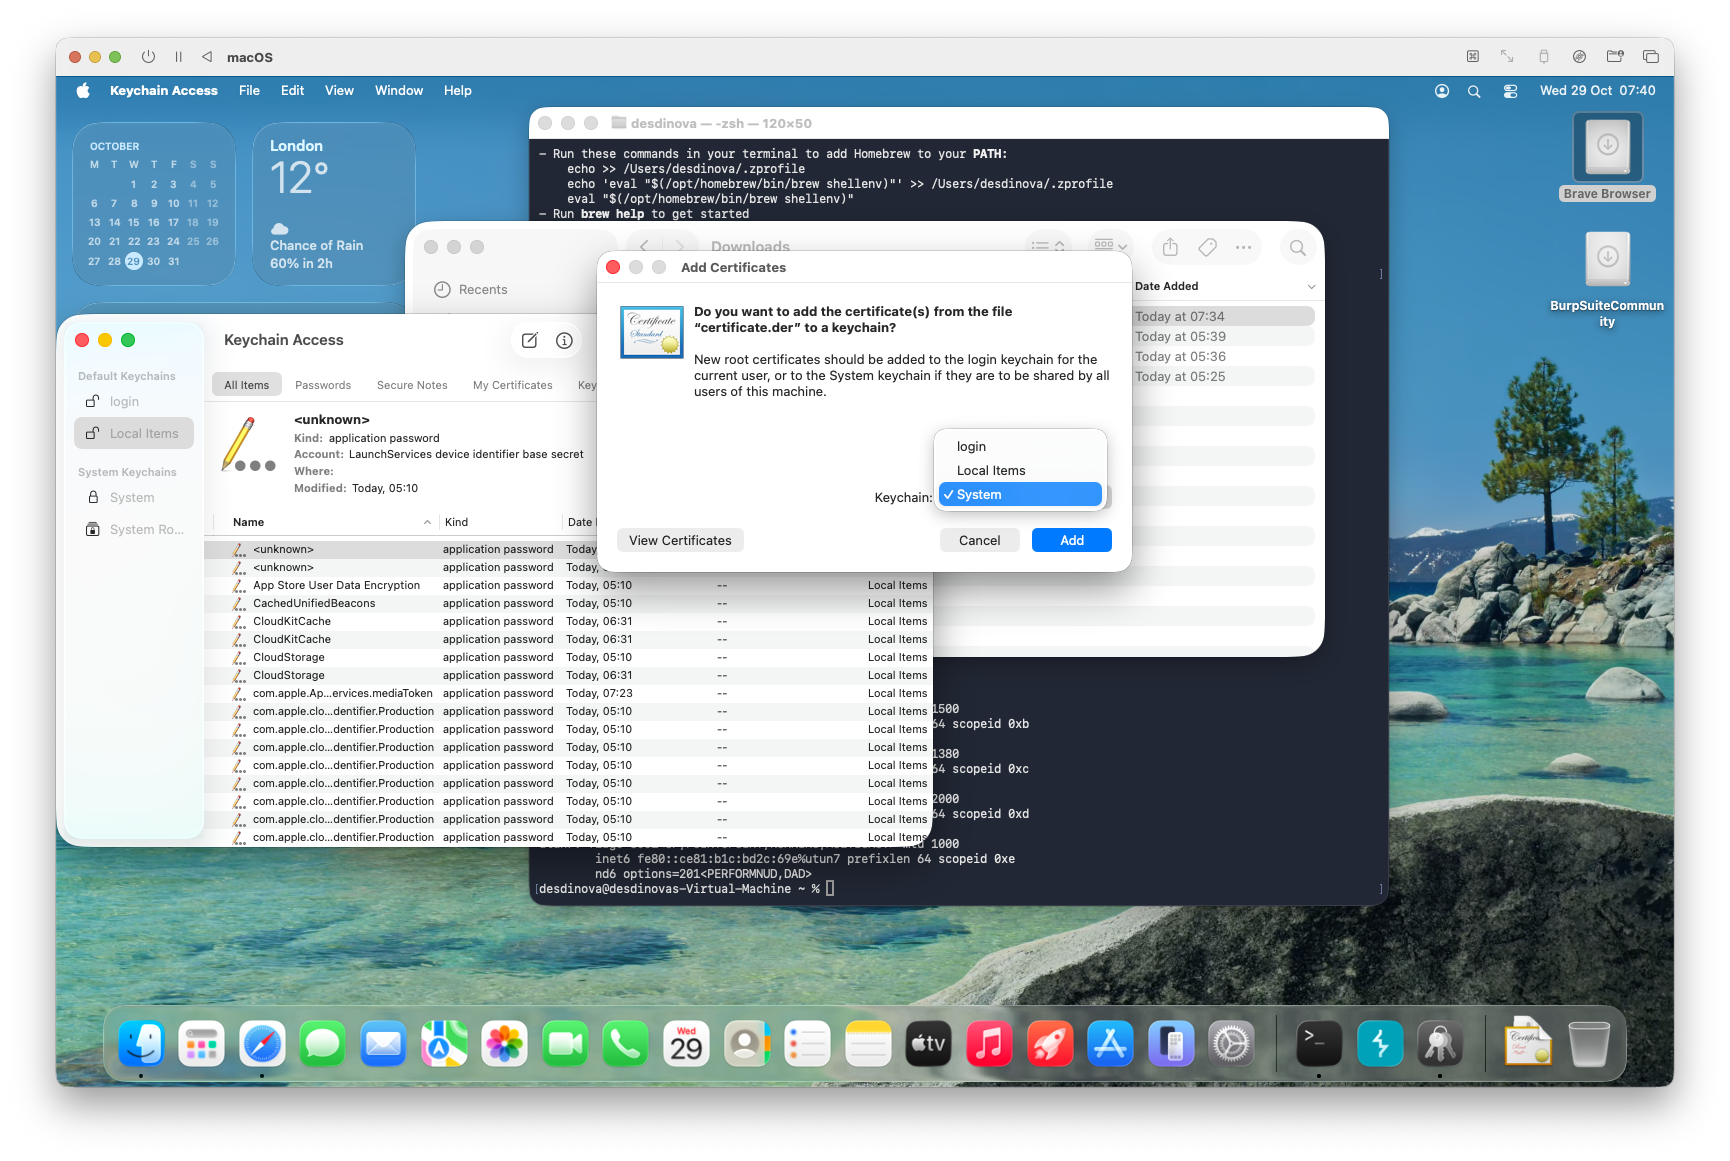
.derfile in your Downloads folder (or anywhere you can easily locate it). - Double-click the newly saved certificate — it will open Keychain Access.
- Add the certificate to the System Keychain:
- Allow access for all users.
- Grant system-level trust.
 1. Save it. If everything went as intended, you should now be able to find the certificate in the main Keychain Access window.
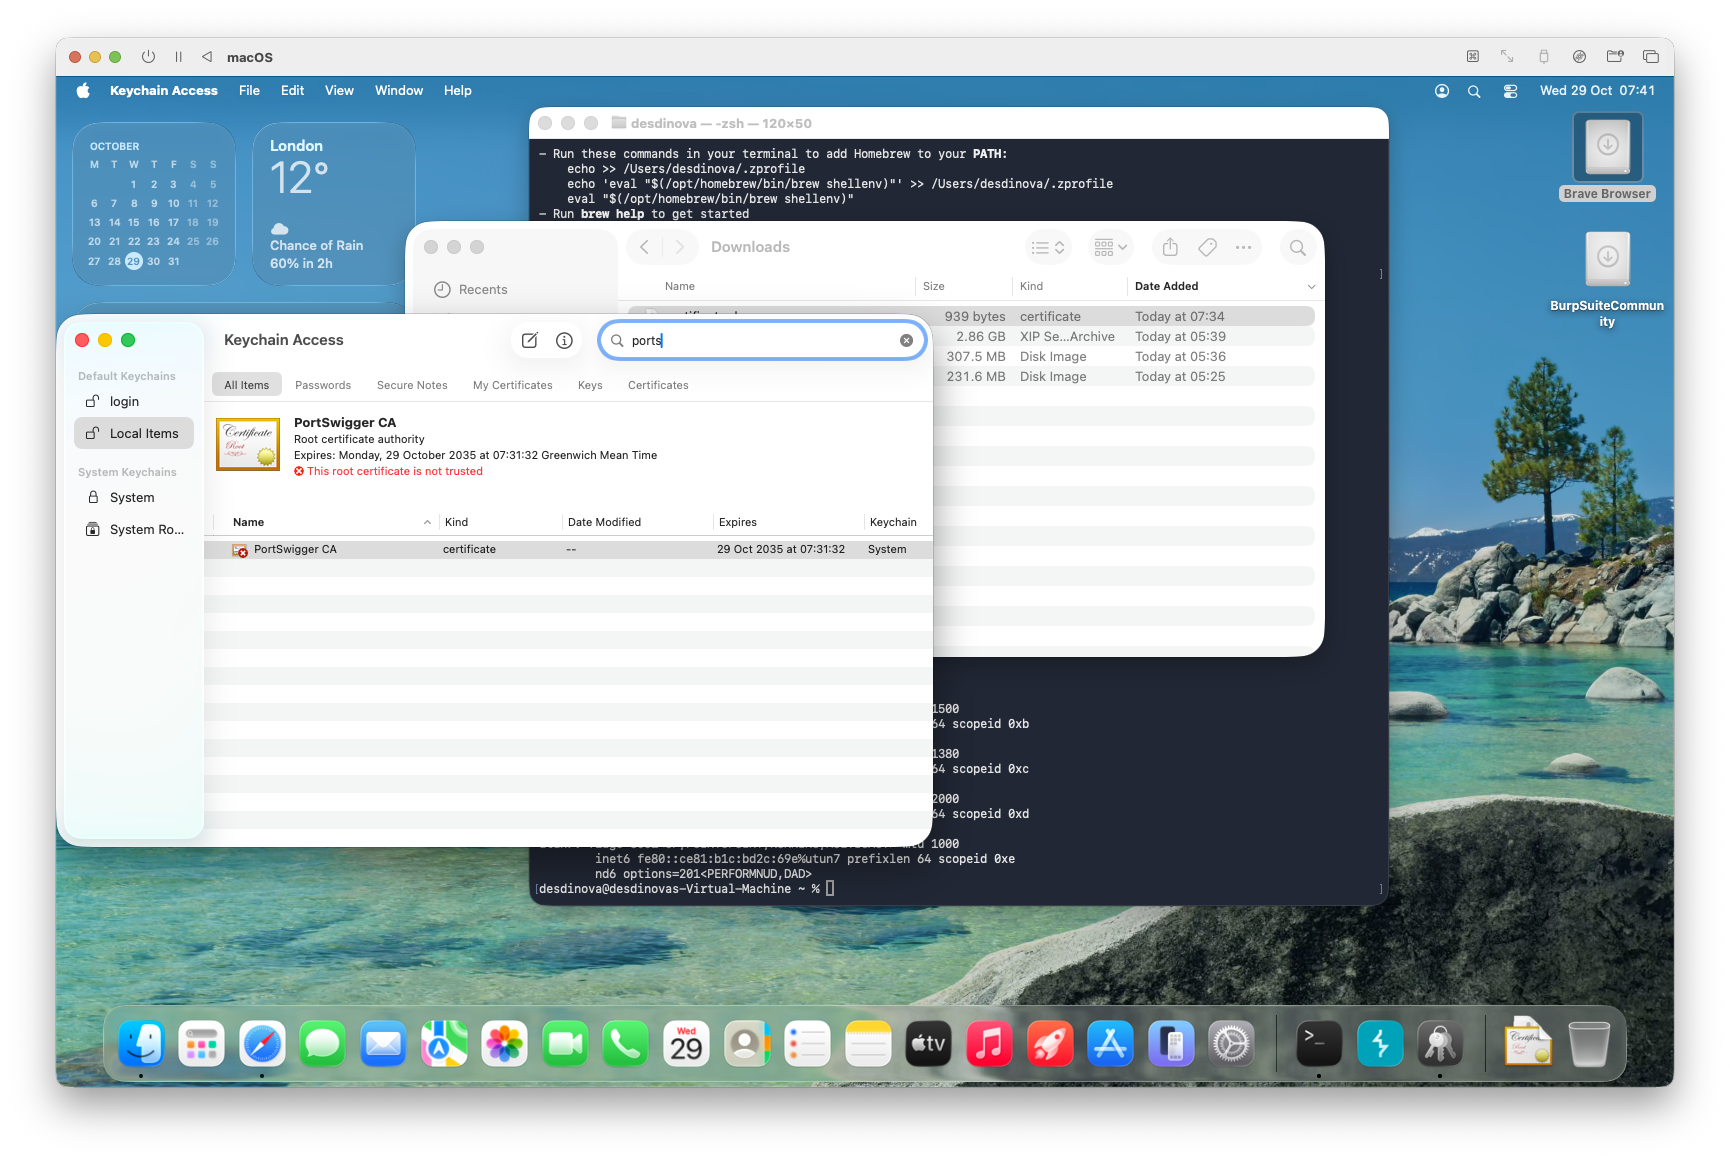 1. CRITICAL: double-click the PortSwigger CA certificate.
1. Expand the Trust section.
2. Set “When using this certificate:” to Always Trust.
1. CRITICAL: double-click the PortSwigger CA certificate.
1. Expand the Trust section.
2. Set “When using this certificate:” to Always Trust.
 1. Close the window — it will prompt for your password. The certificate is now trusted system-wide.
- Next, add the certificate to Brave (or Firefox).
- If you plan to use Chrome or Safari, you can skip this step.
- If you’re using Opera, you’re on your own — I’ve never touched it.
- Open your browser’s Settings and search for “Certificates.”
- Select “Local Certificates.”
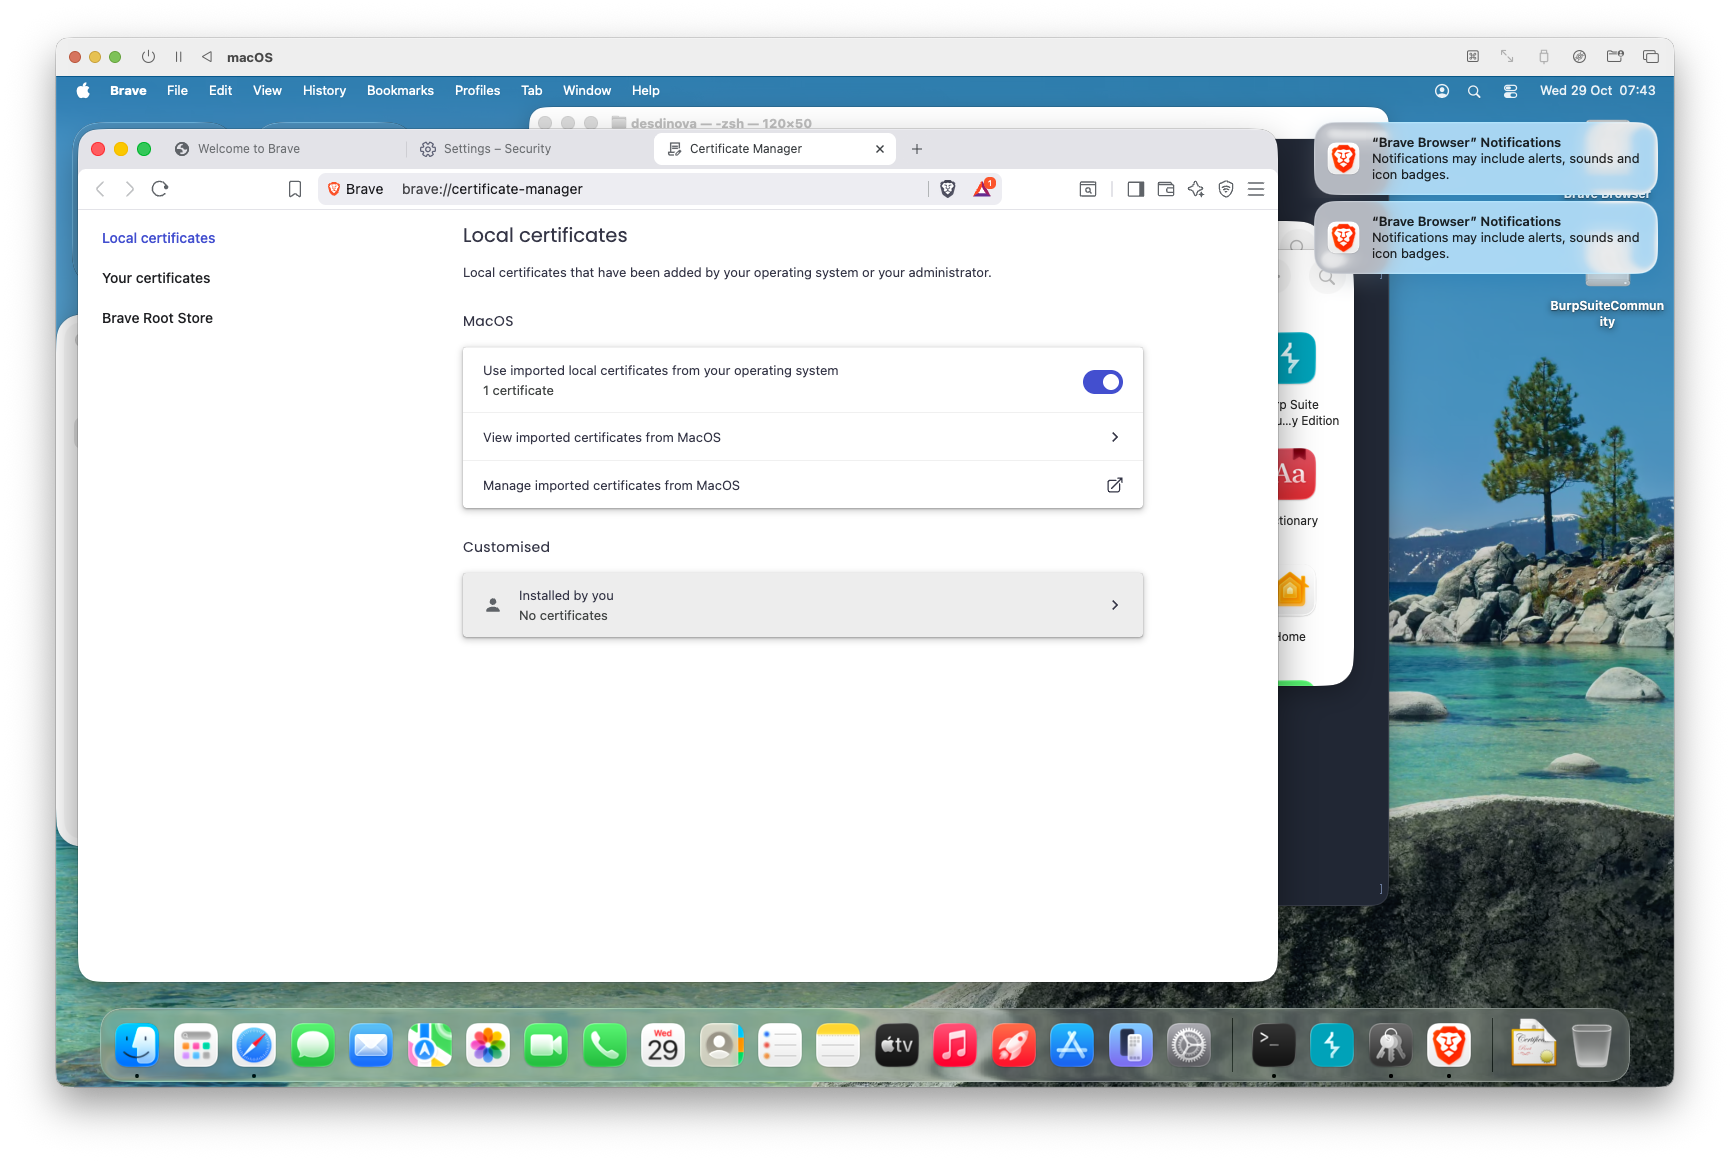 12. Select “Installed by you”
 12. Import the certificate.
13. Et voila - you’re done.
12. Import the certificate.
13. Et voila - you’re done.
Final observations
Our virtual machine is now ready to go. Before wrapping up, let’s take stock of what we have.
Development tools: already there
If you check your terminal, you’ll find that the essential development tools are already installed. Homebrew (bless its heart) took care of setting up the Command Line Tools, which means you already have:
- lldb – the debugger we’ll use extensively
- clang – the compiler
- gcc – another compiler (symlinked to clang on macOS)
- as – the assembler
You can verify this with a simple which lldb or clang --version.
No need to install Xcode Command Line Tools separately — Homebrew already did the heavy lifting.
The disassembler question
There’s one glaring omission in our setup: a disassembler.
I use Hopper because I already have a licence, but I’m deliberately not covering disassembler installation here. Why? Because it’s a very personal choice, and I expect you to know what you’re doing in this regard.
Your options include:
- Ghidra – free, powerful, NSA-grade (yes, really)
- Binary Ninja – commercial, excellent UI, worth every penny
- Cutter – free, based on rizin/radare2
- Hopper – commercial, lightweight, macOS-native
- IDA – the industry standard (and the industry-standard price tag)
Pick your poison. Install it. Learn it. We’ll need it in the next article.
Security note
Earlier we enabled Remote Management and Remote Login.
This is convenient, but potentially dangerous if the VM is not properly isolated.
Instead of exposing network services, prefer host-only or NAT networking without port forwarding.
Enable SSH or remote access only when strictly necessary, and only after enforcing strong authentication (firewall, strong password or keypair) and disconnecting from any public network.
Last step: Disabling System Integrity Protection Now let’s see how you can disable SIP on your VM (Do I need a VM? Sure you do! You wouldn’t want to disable SIP on your machine, do you?)
To do so - reboot your VM into recovery mode. This depends on your hypervisor - but if you followed the instructions I gave in the post, it’s just as hard as right-clicking your machine and then you’ll find the contextual menu item.
After a few minutes, you’ll be presented with the usual screen asking you if you want to access Macintosh HD or Options. Chose the latter and continue, so to be able to launch a terminal
![[LaunchTerminal.png]]
then launch the instruction csrutil status. This will tell you if the SIP is enabled. If it’s enabled, disable it with csrutil disable and reboot the system.
![[csrutilsoff.png]]
If you did everything properly, once rebooted in the system, running again csrutil status should return that the rootless feature is disabled:
![[csrutilsafterreboot.png]]
Why this step?
Basically, System Integrity Protection (SIP) enabled will block the core lldb feature: “attaching” to programs.
In this first part of our path, we will not debug programs. Nevertheless, it can be helpful to inspect also public applications (and especially, Apple’s). Therefore, taking this step would save us a lot of time later on.
What’s next?
In the next post, we’ll finally get our hands dirty with actual malware samples. We’ll learn how to:
- Safely acquire samples
- Perform initial triage
- Use our newly configured environment to tear them apart
Until then, take a snapshot of your VM — seriously.
You’ll thank me later when something inevitably breaks.
Want the deep dive?
If you’re a security researcher, incident responder, or part of a defensive team and you need the full technical details (labs, YARA sketches, telemetry tricks), email me at info@bytearchitect.io or DM me on X (@reveng3_org). I review legit requests personally and will share private analysis and artefacts to verified contacts only.
Prefer privacy-first contact? Tell me in the first message and I’ll share a PGP key.
Subscribe to The Byte Architect mailing list for release alerts and exclusive follow-ups.
Gabriel(e) Biondo
ByteArchitect · RevEng3 · Rusted Pieces · Sabbath Stones